Data Destination
Data Destination represent the definition of the structure of the data that is loaded into QuartzX platforms. This configuration allows you to specify all the fields/columns that will be loaded into our platforms.
This article only explains how to create a Data Destination. In order to load data into our applications, more configuration is necessary. For more information, please refer to this article.
In order to view and configure Data Destinations in QuartzIQ, you must have the required application roles:
- QX-Admin
- IQ-Admin (only if you want to create Source and Data Destinations in order to input data for QuartzIQ)
[View all Data Destinations](./target-datas#view-all-Data Destinations) [Modify a Data Destinations](./target-datas#modify-a-Data Destination) [Create a new Data Destinations](./Data Destinations#create-a-new-Data Destination)
View all Data Destinations
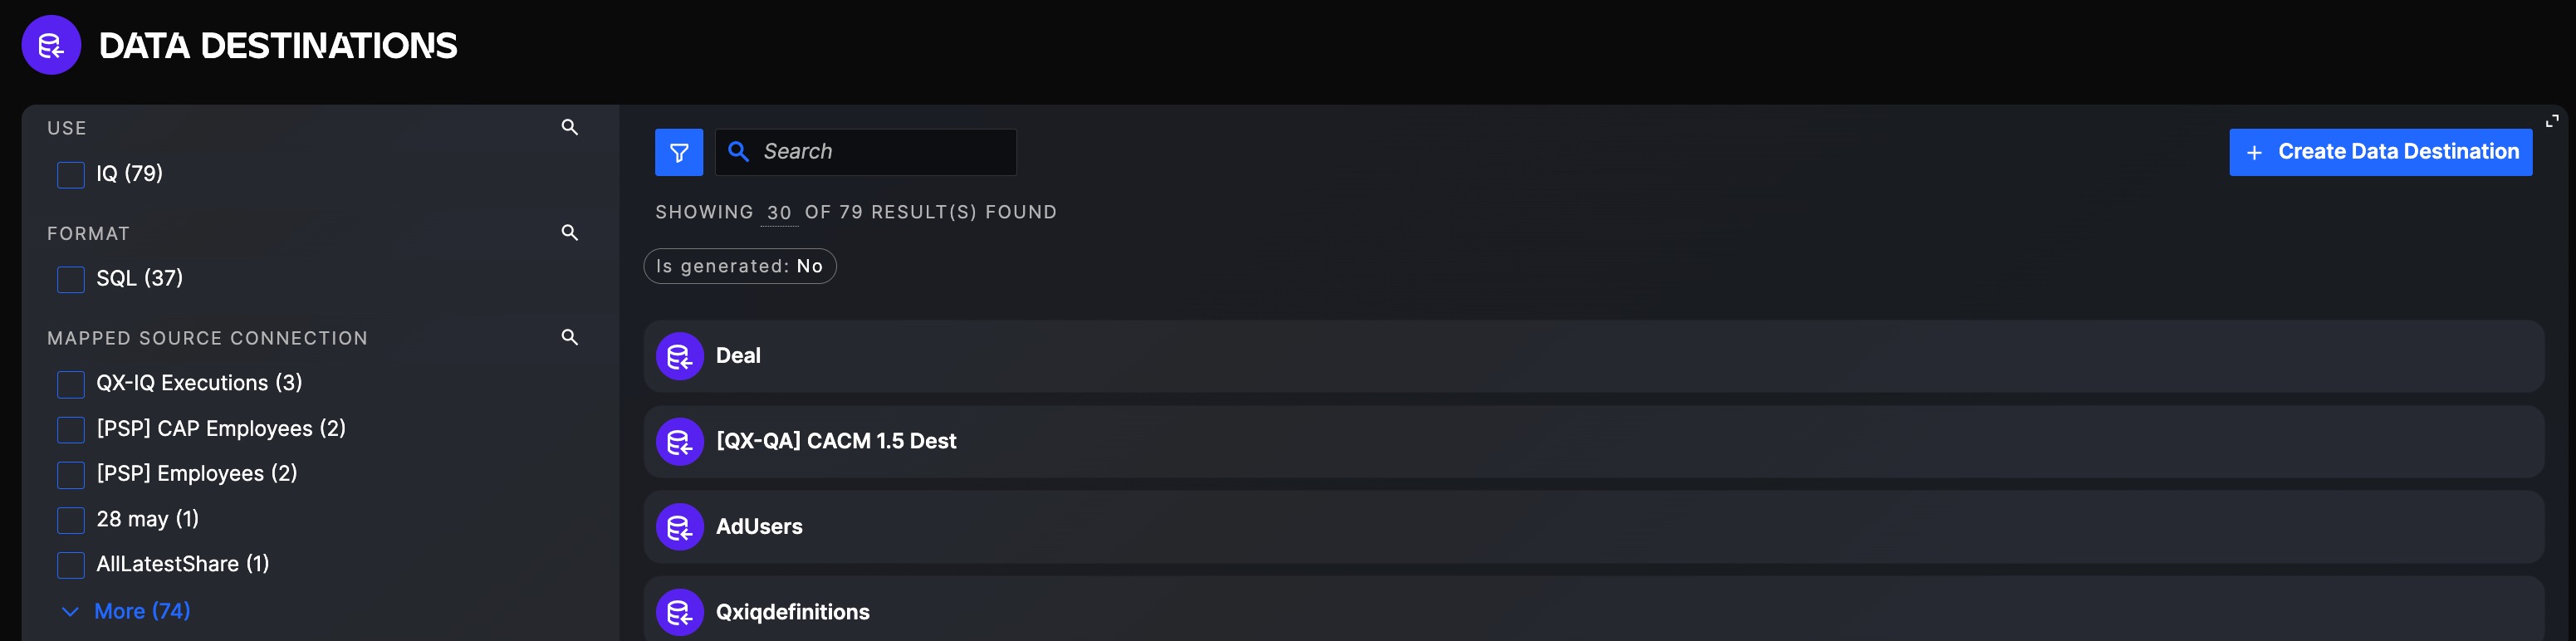
Navigate through the side menu in QuartzIQ and select Settings > Data Integration > Data Destinations.
You should now see a list of all Data Destinations already configured in the application. You can also use filters to find a specific Data Destination or use the search bar to search by name.
Data Destinations list
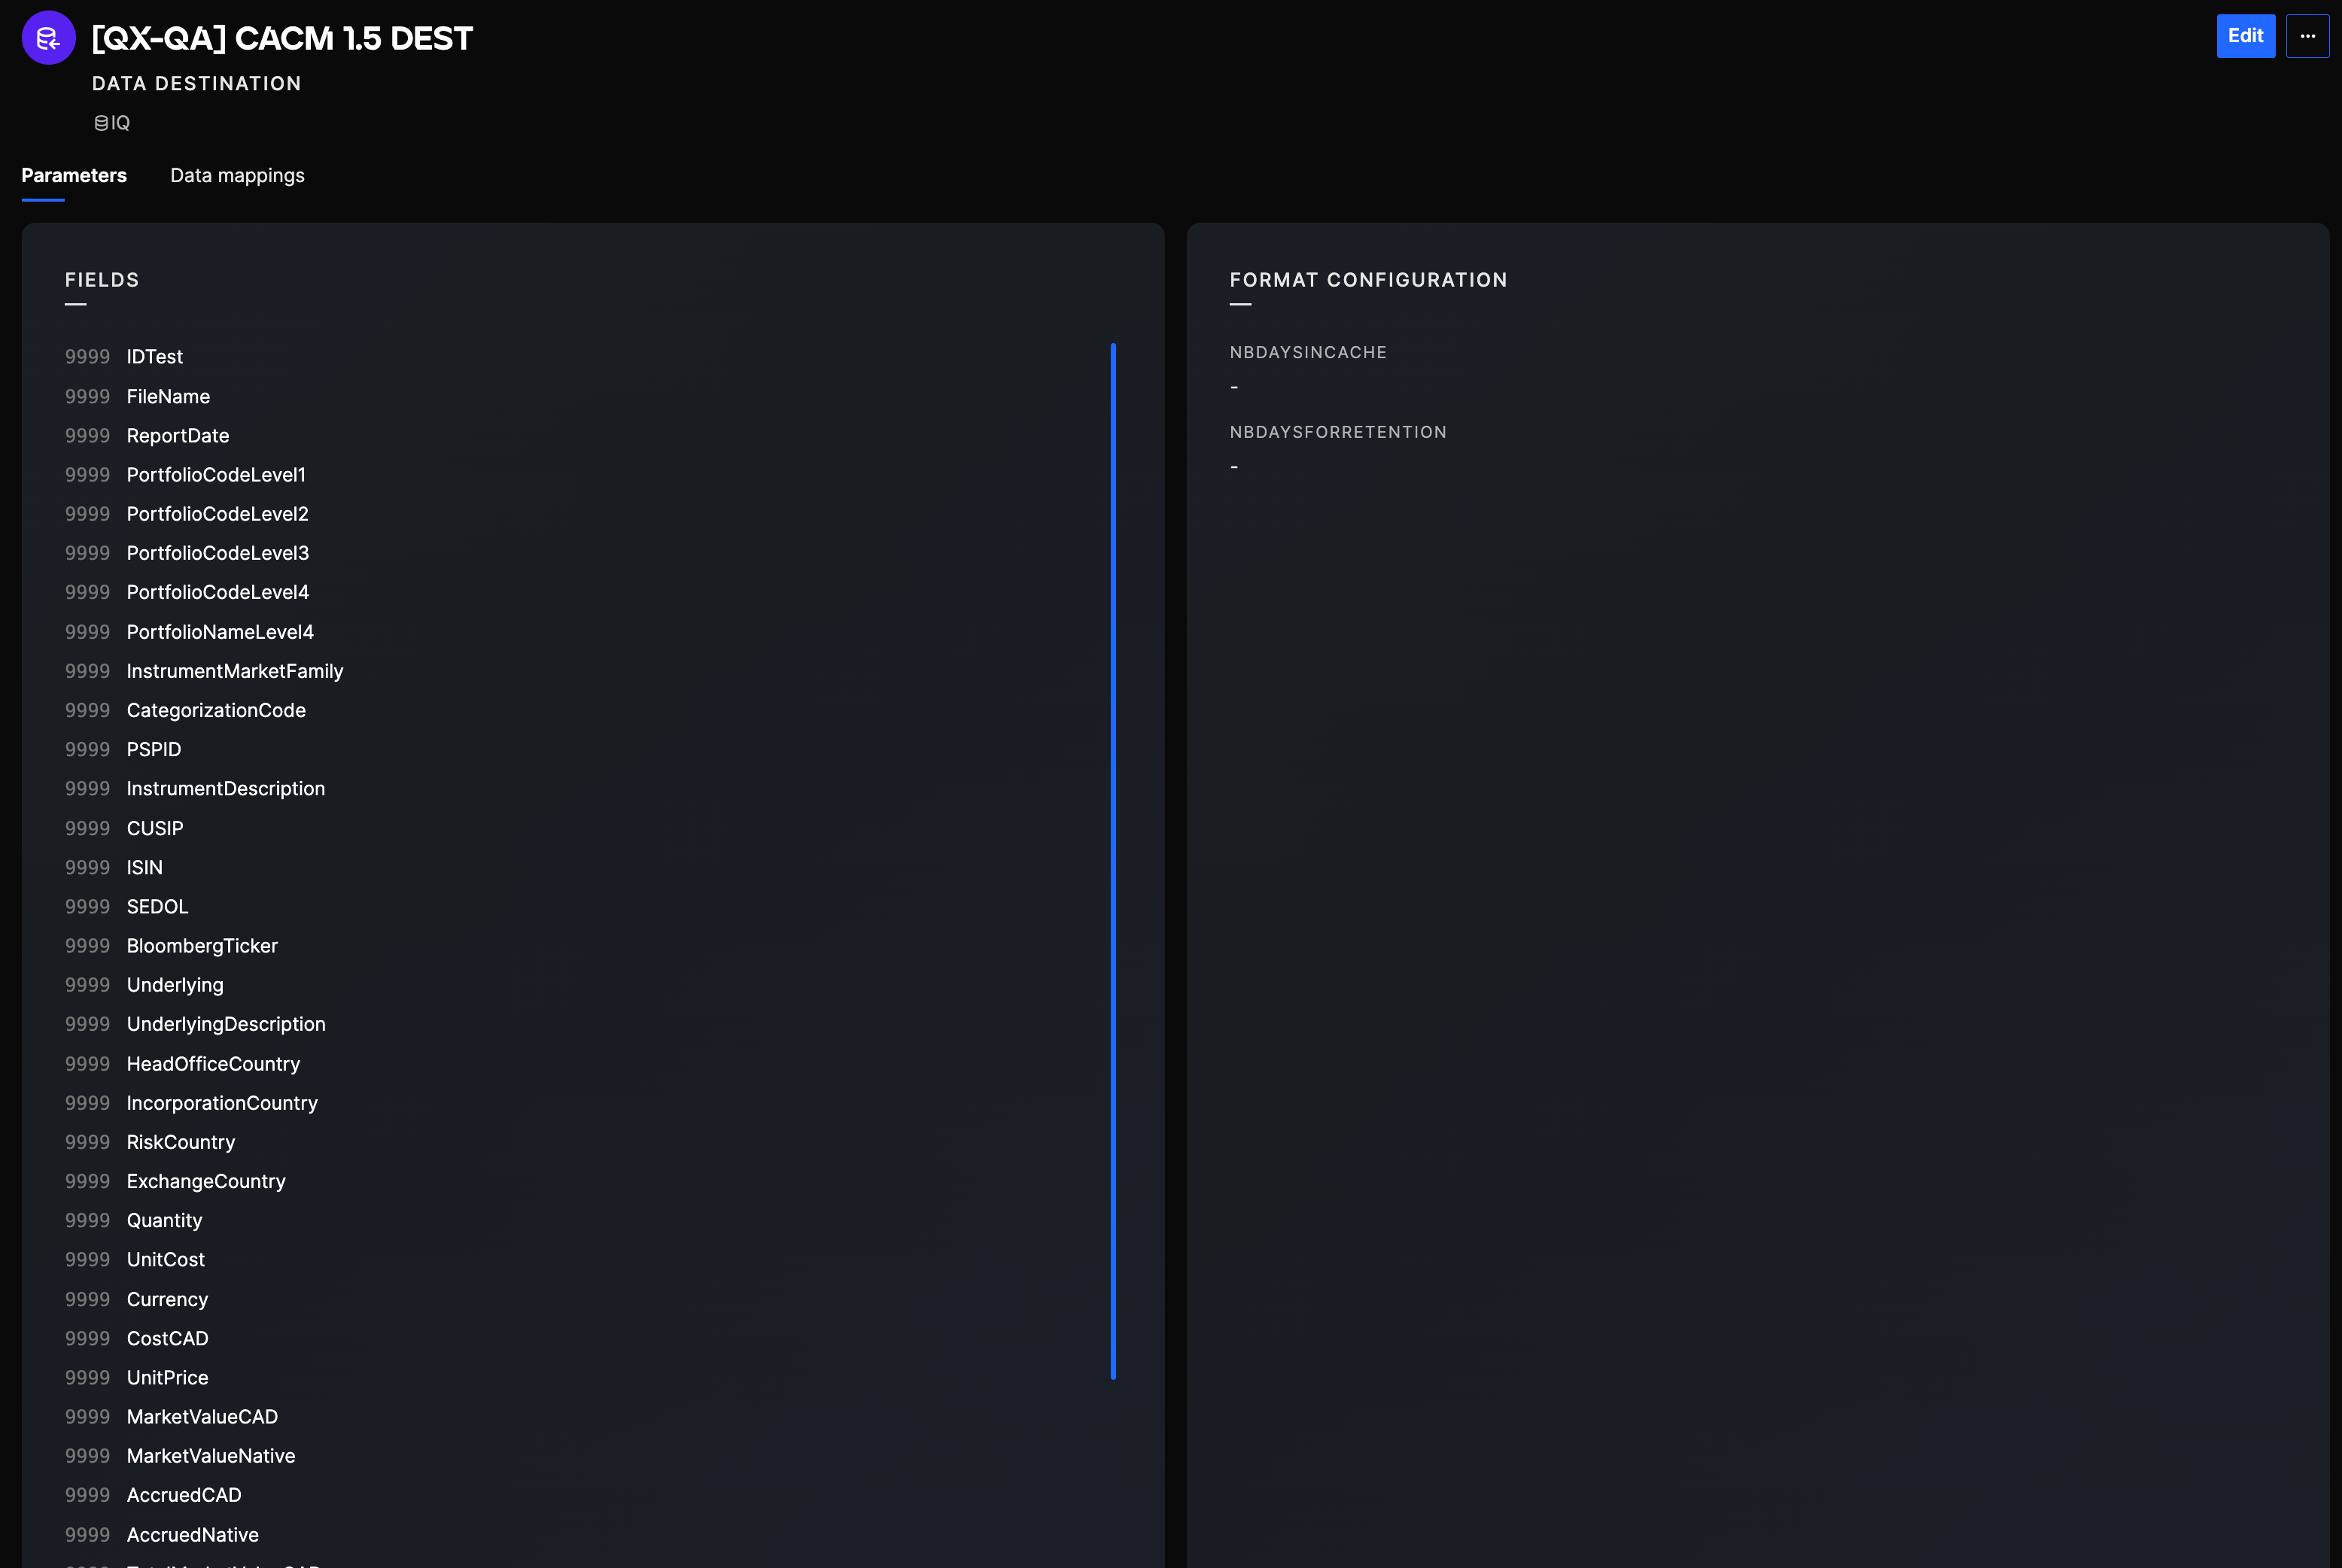
You can click then on any Data Destination to see its' configuration details and its' fields. You can also view with which Data Destinations it is mapped with using the "Connection mappings" tab.
Data Destinations details
Modify a Data Destination
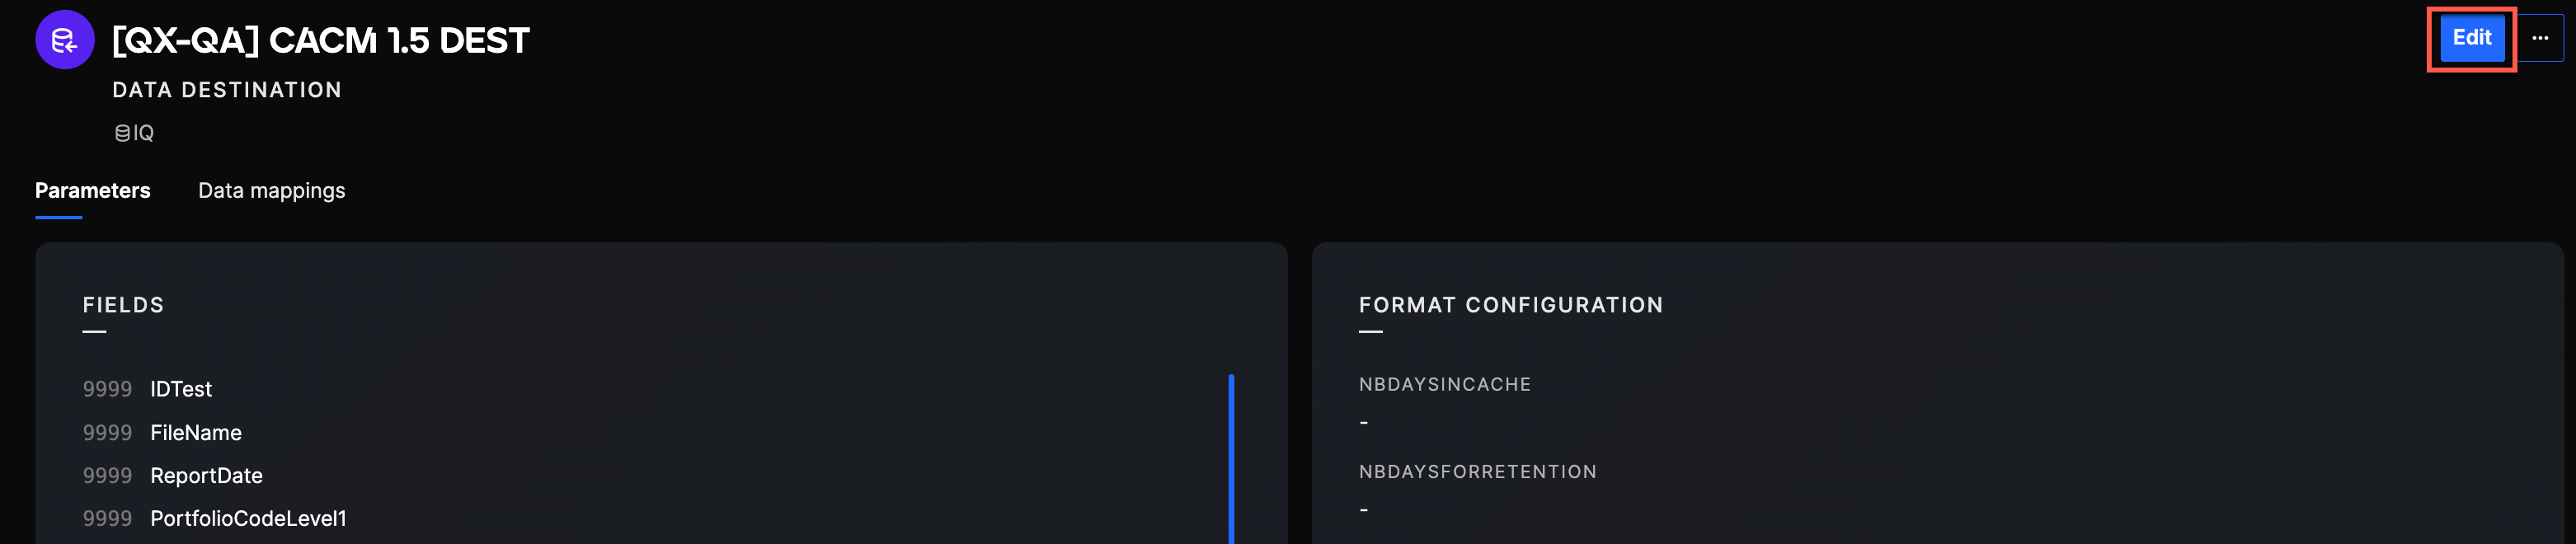
In order to modify an existing Data Destination, you can navigate to the Data Destination using the method described in the section above. You can easily change its fields and format configuration using the Edit button.
Edit button
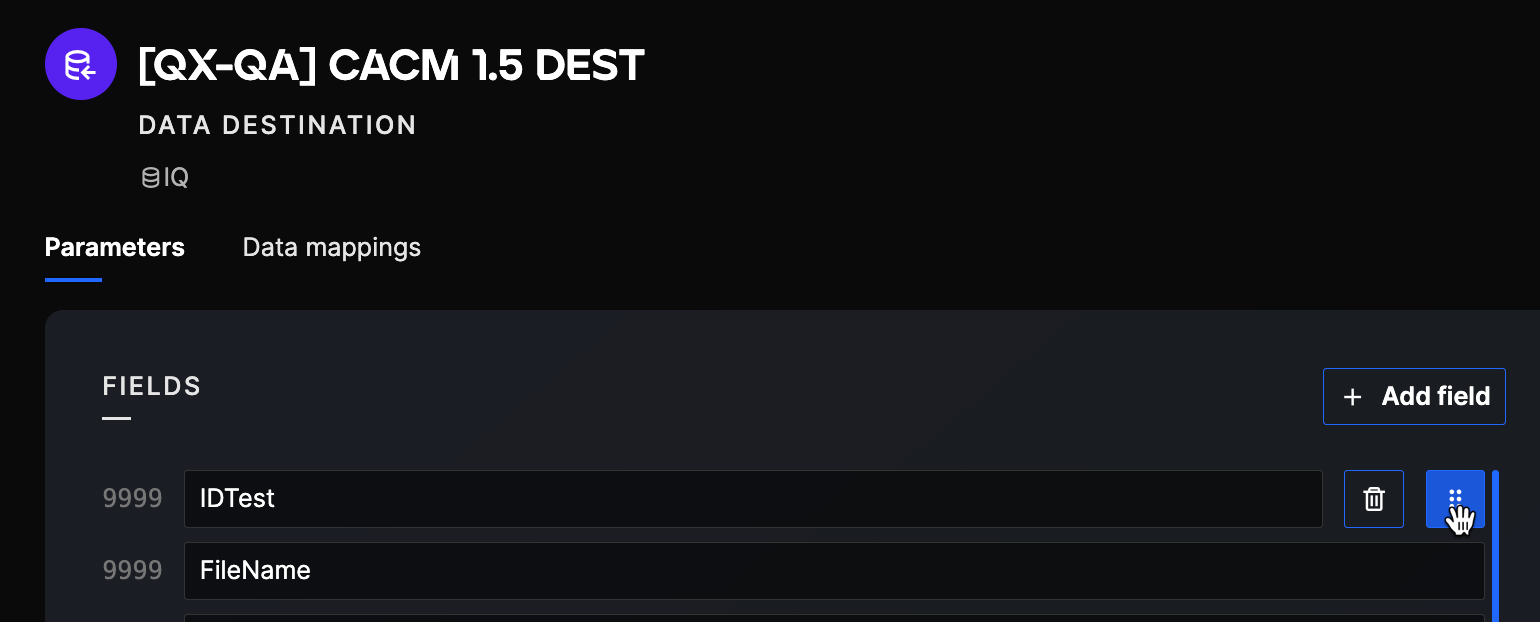
When editing fields, you can add new fields, modify existing ones (change value or order) and delete fields. In order to change the order of fields, you can use the button showed below and drag and drop the field.
Modify field order
You can also edit the general information of the Data Destination using the option in the "..." menu.
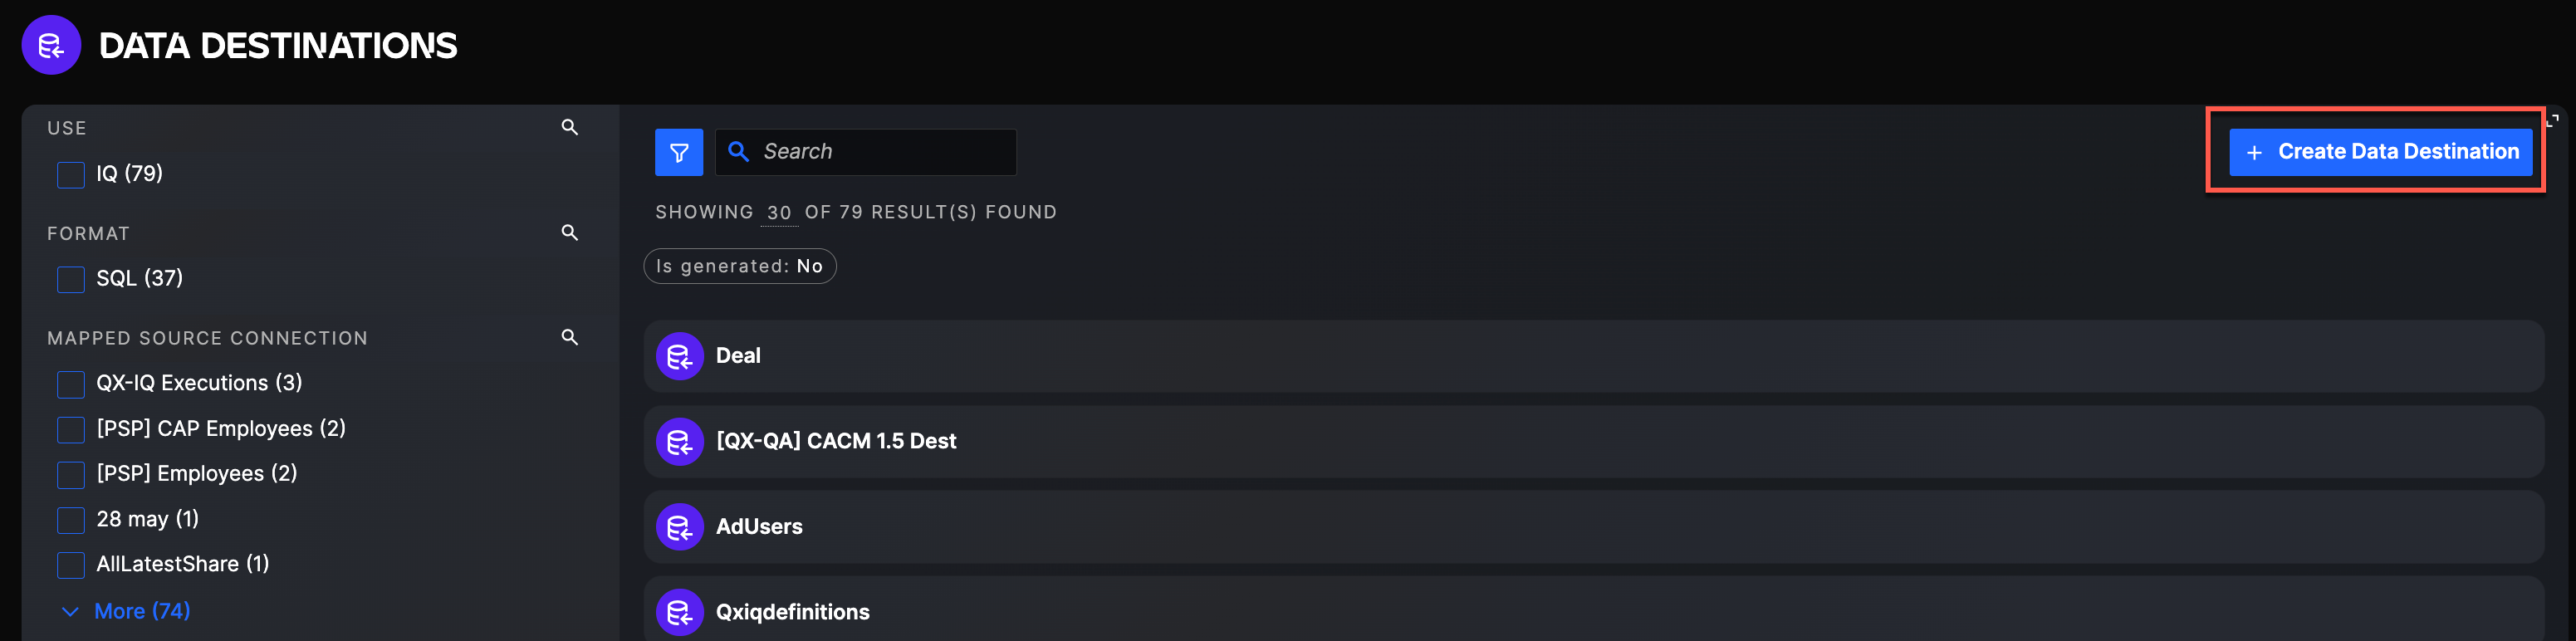
Create a new Data Destination
In order to create a new Data Destination, you can click on the Create Data Destination button in the Data Destinations section. Data Destination creation button
The creation button will take you through the steps necessary to create the Data Destination:
- Information: this step allows you to configure the name and description of the Data Destination. This will help you identify the Data Destination but can easily be updated after creation.
- Data connection use: you can choose here for which QuartzX application you will be using the data.
- IQ: this option allows you to retrieve data to be used within the QuartzIQ application.
- SystemData: this option allows you to retrieve data to be used within all other QuartzX applications.
You should now define the different fields that will be used in the target application.