Surveys
The Survey module allows you to create and send customizable questionnaires to both internal employees and external users. Use surveys for compliance certifications, third-party assessments, risk self-assessments, employee attestations, or any structured data collection need across your organization.
In QuartzIQ, surveys are organized in two levels: a Survey defines the topic and holds a reusable questionnaire template, while Campaigns are time-bound instances of that survey sent to specific respondents.
Managing surveys
A survey is the top-level object that defines the topic and the default questionnaire. From the survey level, you can assign managers, define a reusable questionnaire template, and configure the target audience. You can then create one or more campaigns under each survey.
Creating a survey
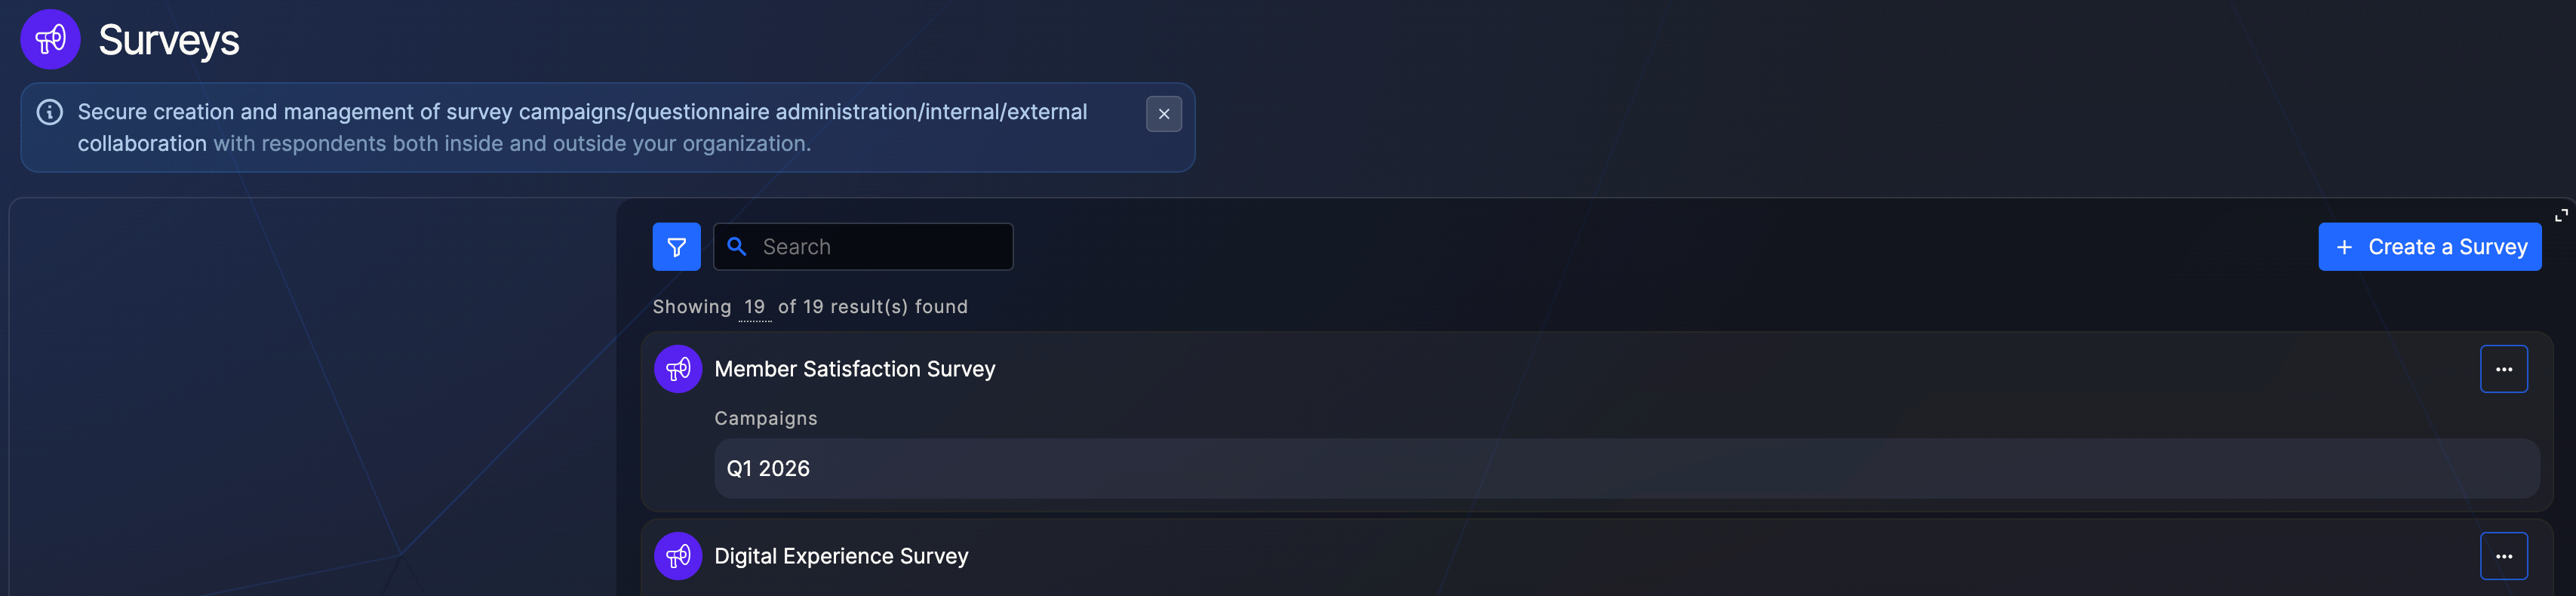
- Navigate to the Surveys section from the side menu;
- Click the Create a Survey button;
- Fill in the survey name and assign one or more Managers who can administer the survey and its campaigns;
- Click Save.
Surveys list
Defining the questionnaire template
From a survey's detailed view, click Edit Template to open the questionnaire builder. The template you define here will be inherited by all campaigns created under this survey.
The questionnaire builder is organized into three panels:
- Structure (left) — displays the list of pages and sections, allowing you to quickly navigate the questionnaire;
- Canvas (center) — the main editing area where you build and arrange your questionnaire by dragging and dropping blocks;
- Add Block (right) — lists all available block types that you can drag onto the canvas.
Questionnaire builder

Question blocks
Drag any of the following question blocks from the right panel onto the canvas:
- Dropdown — single-choice answer from a dropdown list;
- MultipleChoices — single or multiple choice answers from predefined options;
- TextBox — free text responses;
- FileUpload — allows respondents to upload files as part of their answer.
Display blocks
Display blocks help structure and enrich your questionnaire without collecting answers:
- Section — groups related questions under a heading;
- Page — splits the questionnaire across multiple pages for the respondent;
- Text — inserts descriptive or instructional text;
- Fieldset — visually groups elements together;
- Link — adds a clickable link;
- FileViewer — embeds a file for the respondent to view.
Configuring a question
Click on any question block in the canvas to open its detail panel. The panel provides several tabs to configure the question:
- Edit — set the label, question text, and general settings;
- Options — define the list of available choices (for Dropdown and MultipleChoices), including each choice's label, value, order, and weight;
- Logic — configure conditional visibility rules (see below);
- Capabilities — manage permissions for this specific question (see Managing capabilities);
- Flow — configure the workflow for this question (see Managing the survey workflow).
Question detail panel

Conditional logic
You can make questions or entire sections appear only when specific answers are given to a previous question. This is useful for creating adaptive surveys that adjust based on the respondent's input.
To add conditional logic:
- Click on the question that should be conditionally displayed;
- Open the Logic tab in the detail panel;
- In the Set Conditional Visibility dialog, define the rule: select the trigger question, the operator, and the expected answer value;
- Click + Add Condition to chain additional rules if needed;
- Click Save.
Conditional visibility configuration
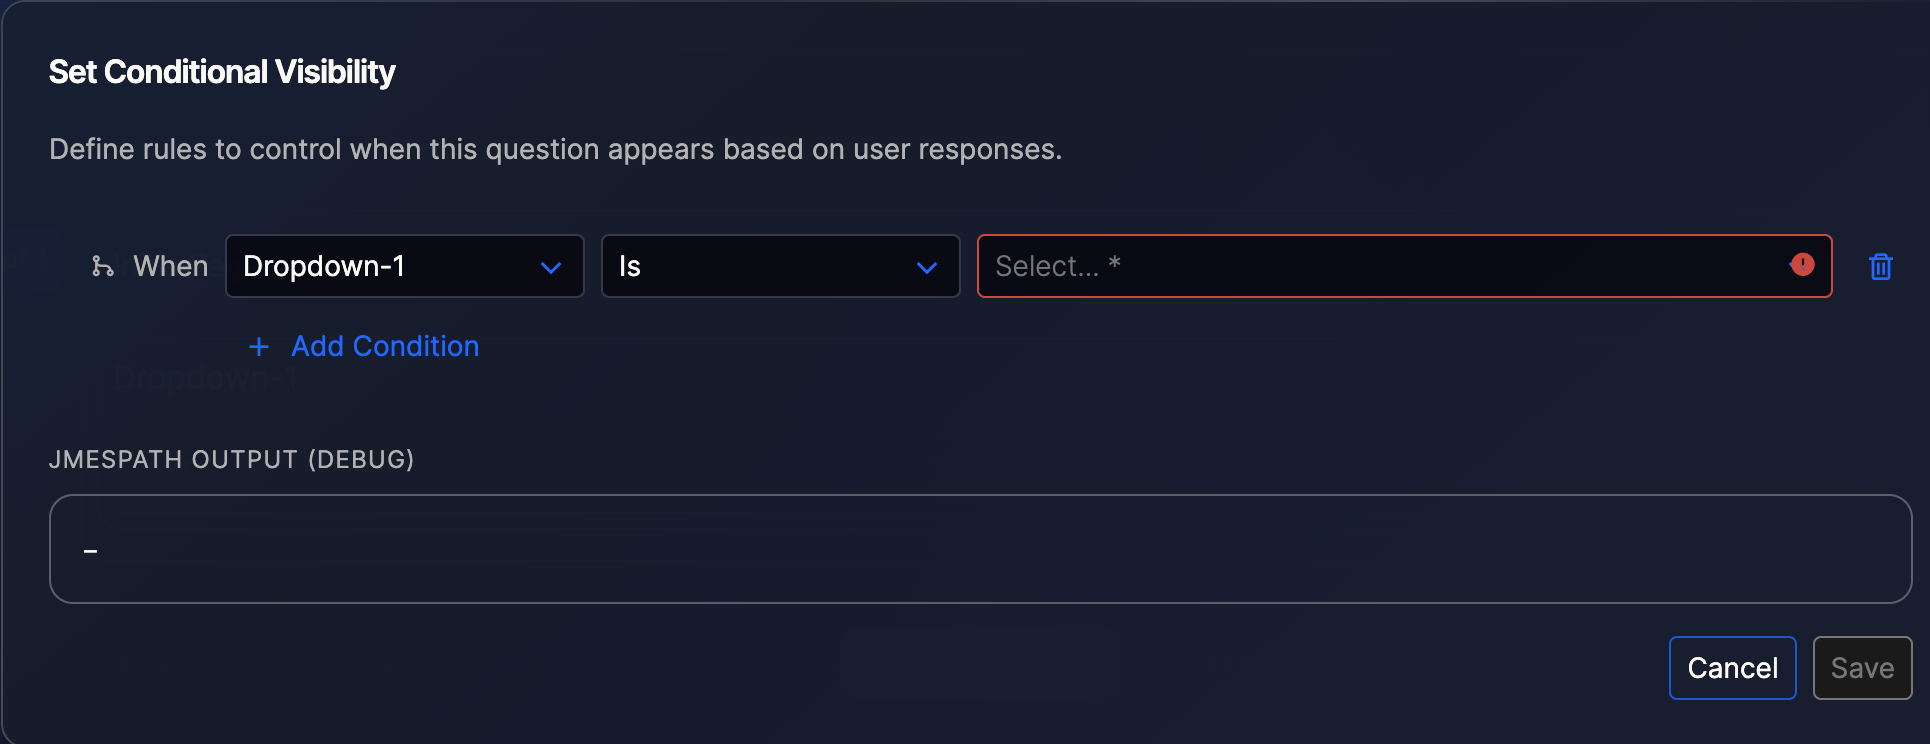
Conditional logic requires that the trigger question is a closed question (Dropdown or MultipleChoices) and is positioned before the conditional question in the questionnaire.
Managing capabilities
Survey managers can configure granular permissions that control what each role can do at each stage of the survey lifecycle. From the Capabilities tab of a question or from the survey settings, open the Manage Capabilities screen.
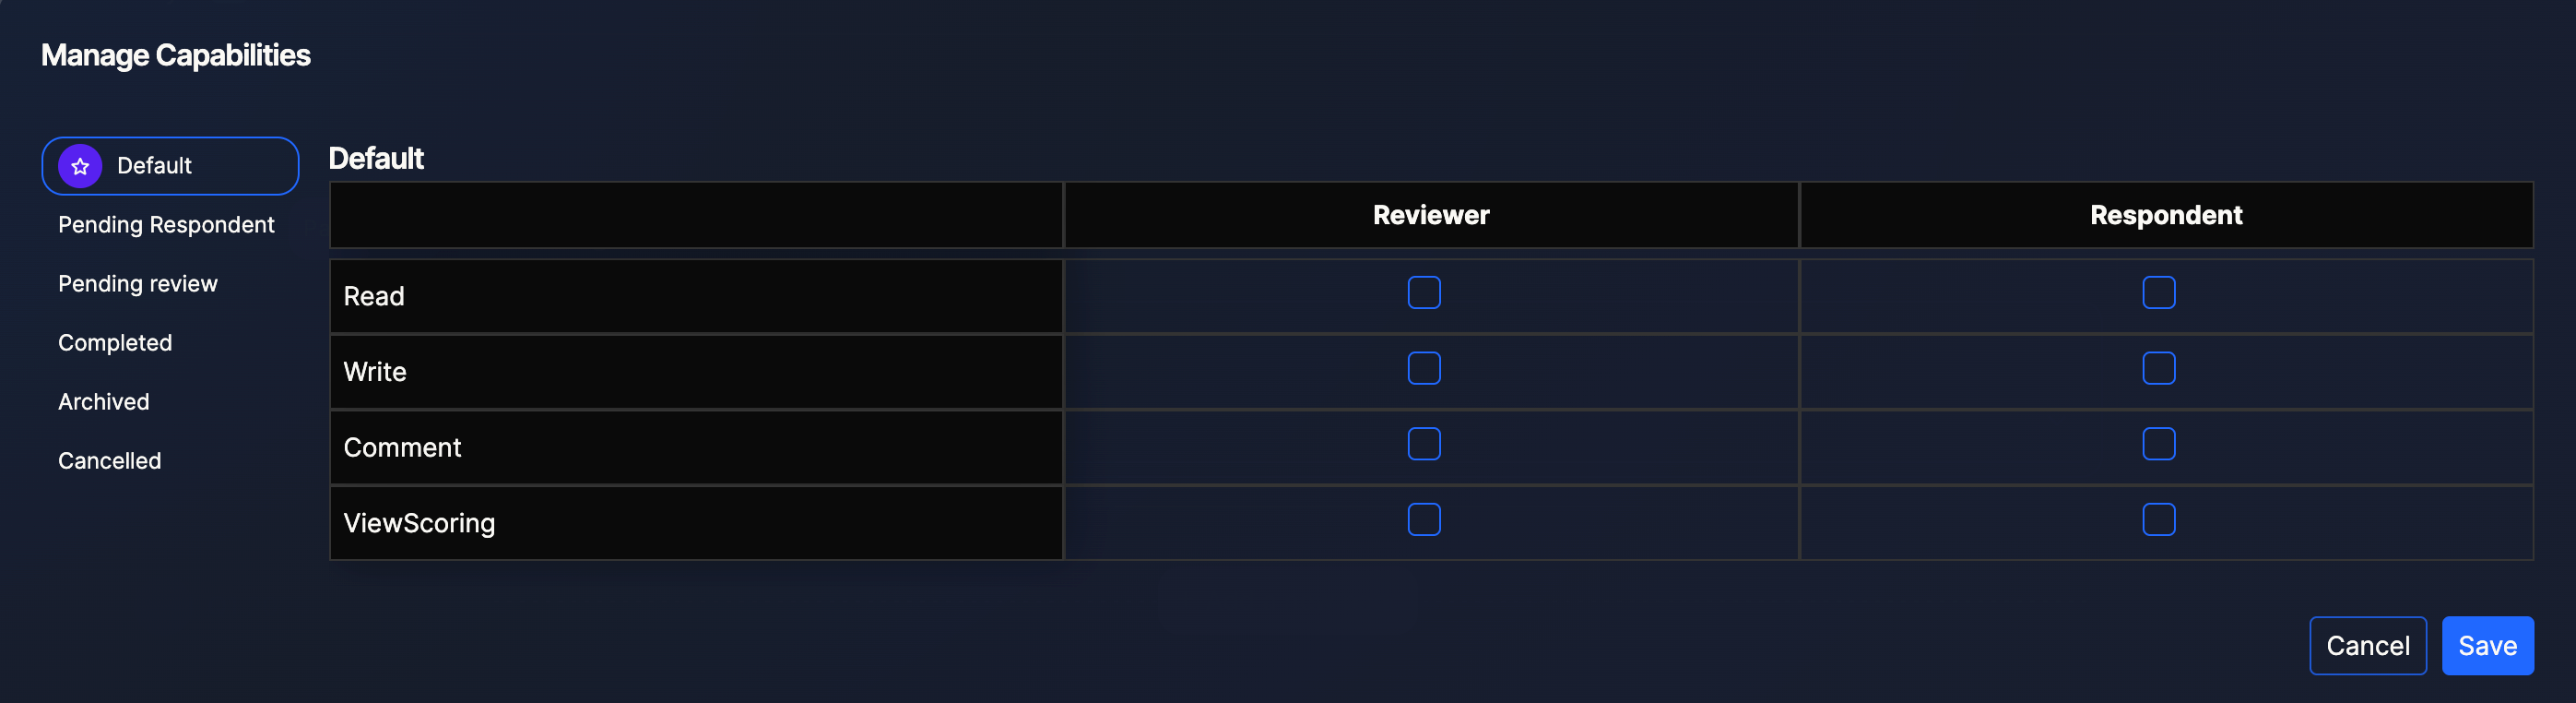
The capabilities matrix lets you assign permissions per role (Reviewer, Respondent) and per survey state (Default, Pending Respondent, Pending review, Completed, Archived, Cancelled). Available permissions include:
- Read — view the question and its answer;
- Write — edit or provide an answer;
- Comment — add comments;
- ViewScoring — view the scoring or weight associated with answers.
Manage Capabilities
Managing the survey workflow
Survey managers can define a custom workflow to control the lifecycle and state transitions of their survey. From the survey settings, click Manage Workflow to open the workflow configuration.
You can either:
- Link existing Workflow — reuse a workflow already defined in the platform;
- Create blank Workflow — start from scratch with an empty workflow that you can configure step by step.
Select Workflow Source

Managing the target audience
From the survey's detailed view, click the Target Audience tab to define the default pool of respondents. You can add internal employees or external respondents. This target audience can be reused across campaigns.
Managing campaigns
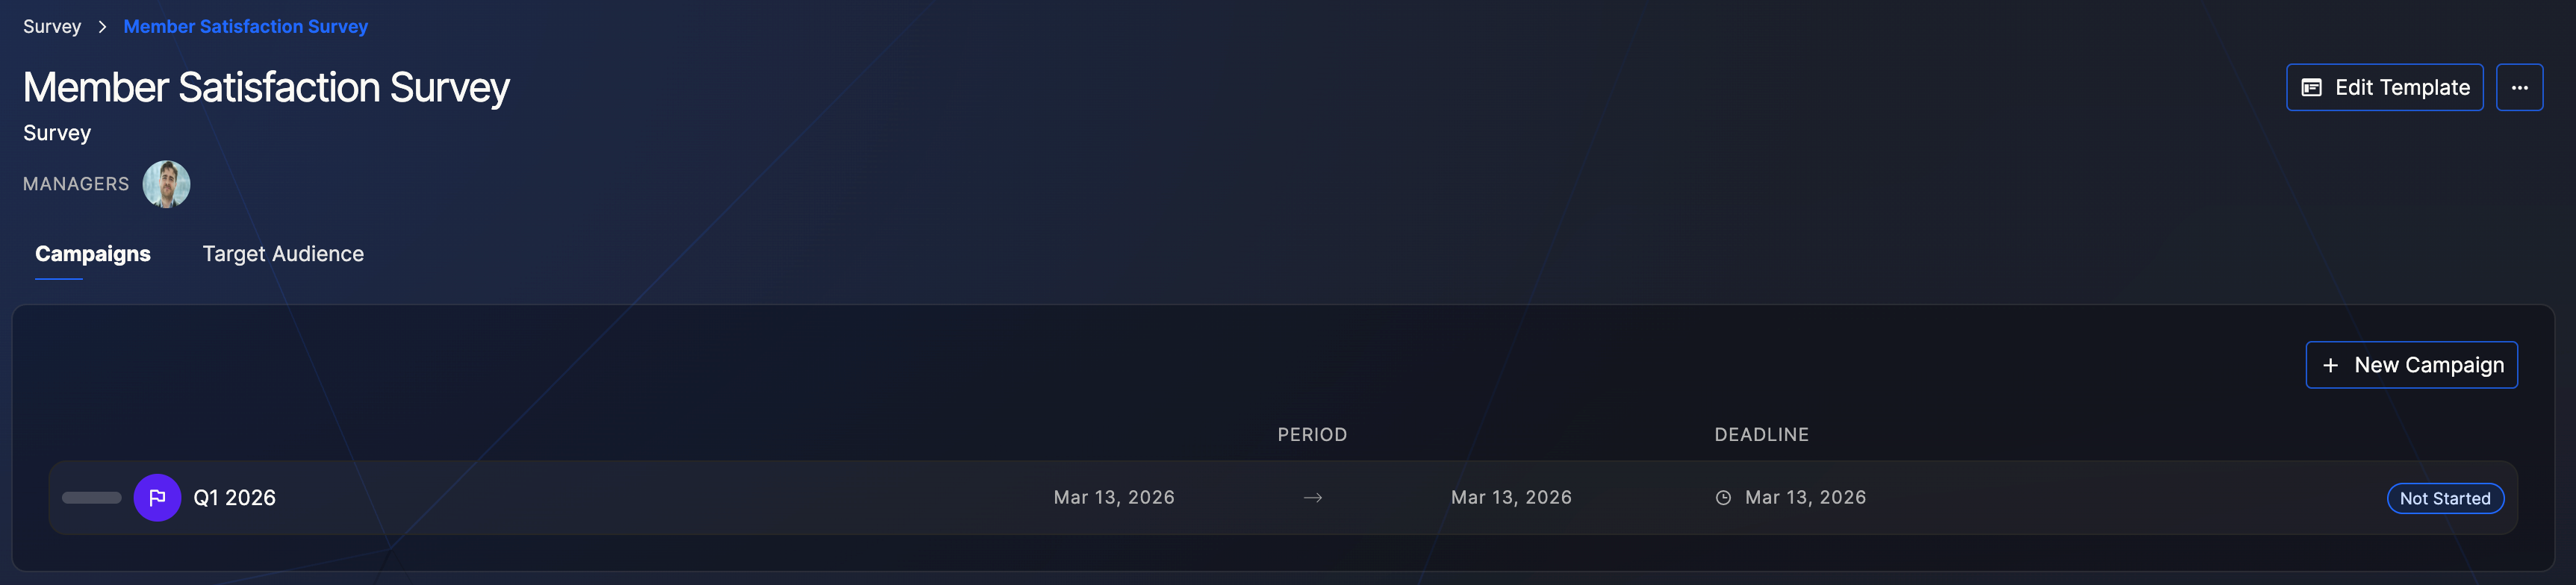
A campaign is a time-bound instance of a survey. It inherits the questionnaire template from the parent survey but can be adjusted independently. Each campaign has its own period, deadline, respondents, and status.
Survey detail with campaigns
Creating a campaign
- Open the survey you want to create a campaign for;
- In the Campaigns tab, click + New Campaign;
- Fill in the required information:
- Campaign title — a clear name that identifies this specific campaign (e.g., "Q1 2026");
- Start date and Deadline — the time window during which respondents can submit their answers;
- Click Save.
The new campaign automatically inherits the questionnaire template from the parent survey. If a target audience has been defined at the survey level, those respondents are also added automatically to the campaign.
Adjusting the campaign questionnaire
Although each campaign inherits the questionnaire template from the parent survey, you can customize it at the campaign level without affecting the original template or other campaigns. This allows you to add, remove, or modify questions for a specific campaign while keeping the base template consistent.
Managing campaign respondents
From the campaign detail view, you can manage the list of respondents for this specific campaign. If a target audience was defined at the survey level, those respondents are pre-populated in the campaign but can be removed if needed.
Campaign detail with respondents
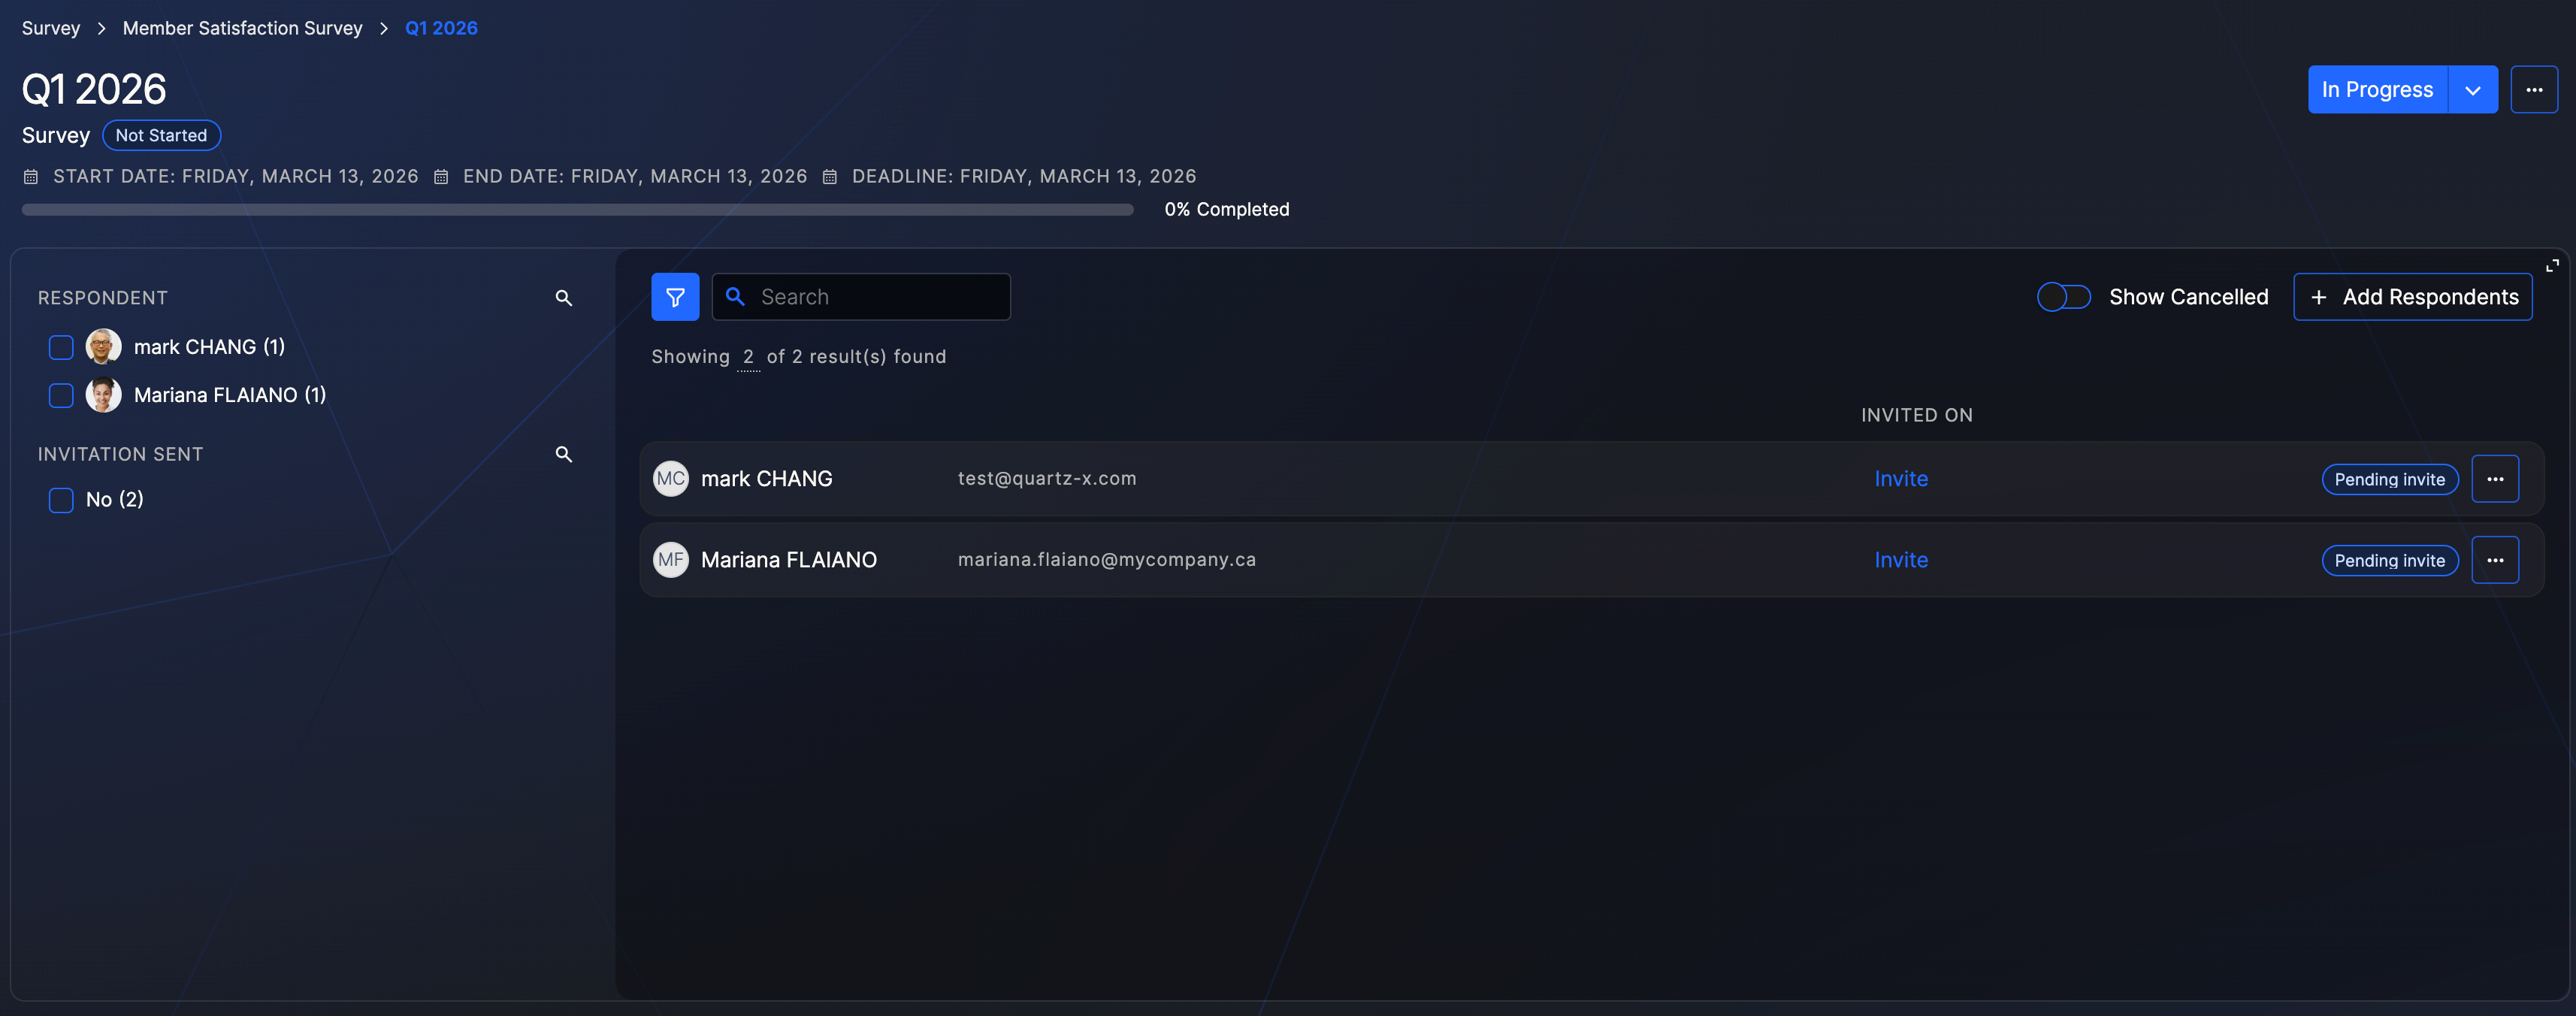
To add respondents, click + Add Respondents and search for internal employees or external users. The respondent list shows each person's name, email, invitation status, and the date they were invited.
Use the filters on the left to narrow down the list by Respondent or Invitation Sent status.
Sending invitations and reminders
Once your respondents are added, click Invite on each respondent's row to send them the invitation email with a link to the survey platform. You can also:
- Invite individual respondents — click Invite on the respondent's row;
- Send reminders to respondents who have not yet completed the survey;
- Show Cancelled — toggle to display respondents whose invitation was cancelled.
Responding to a survey
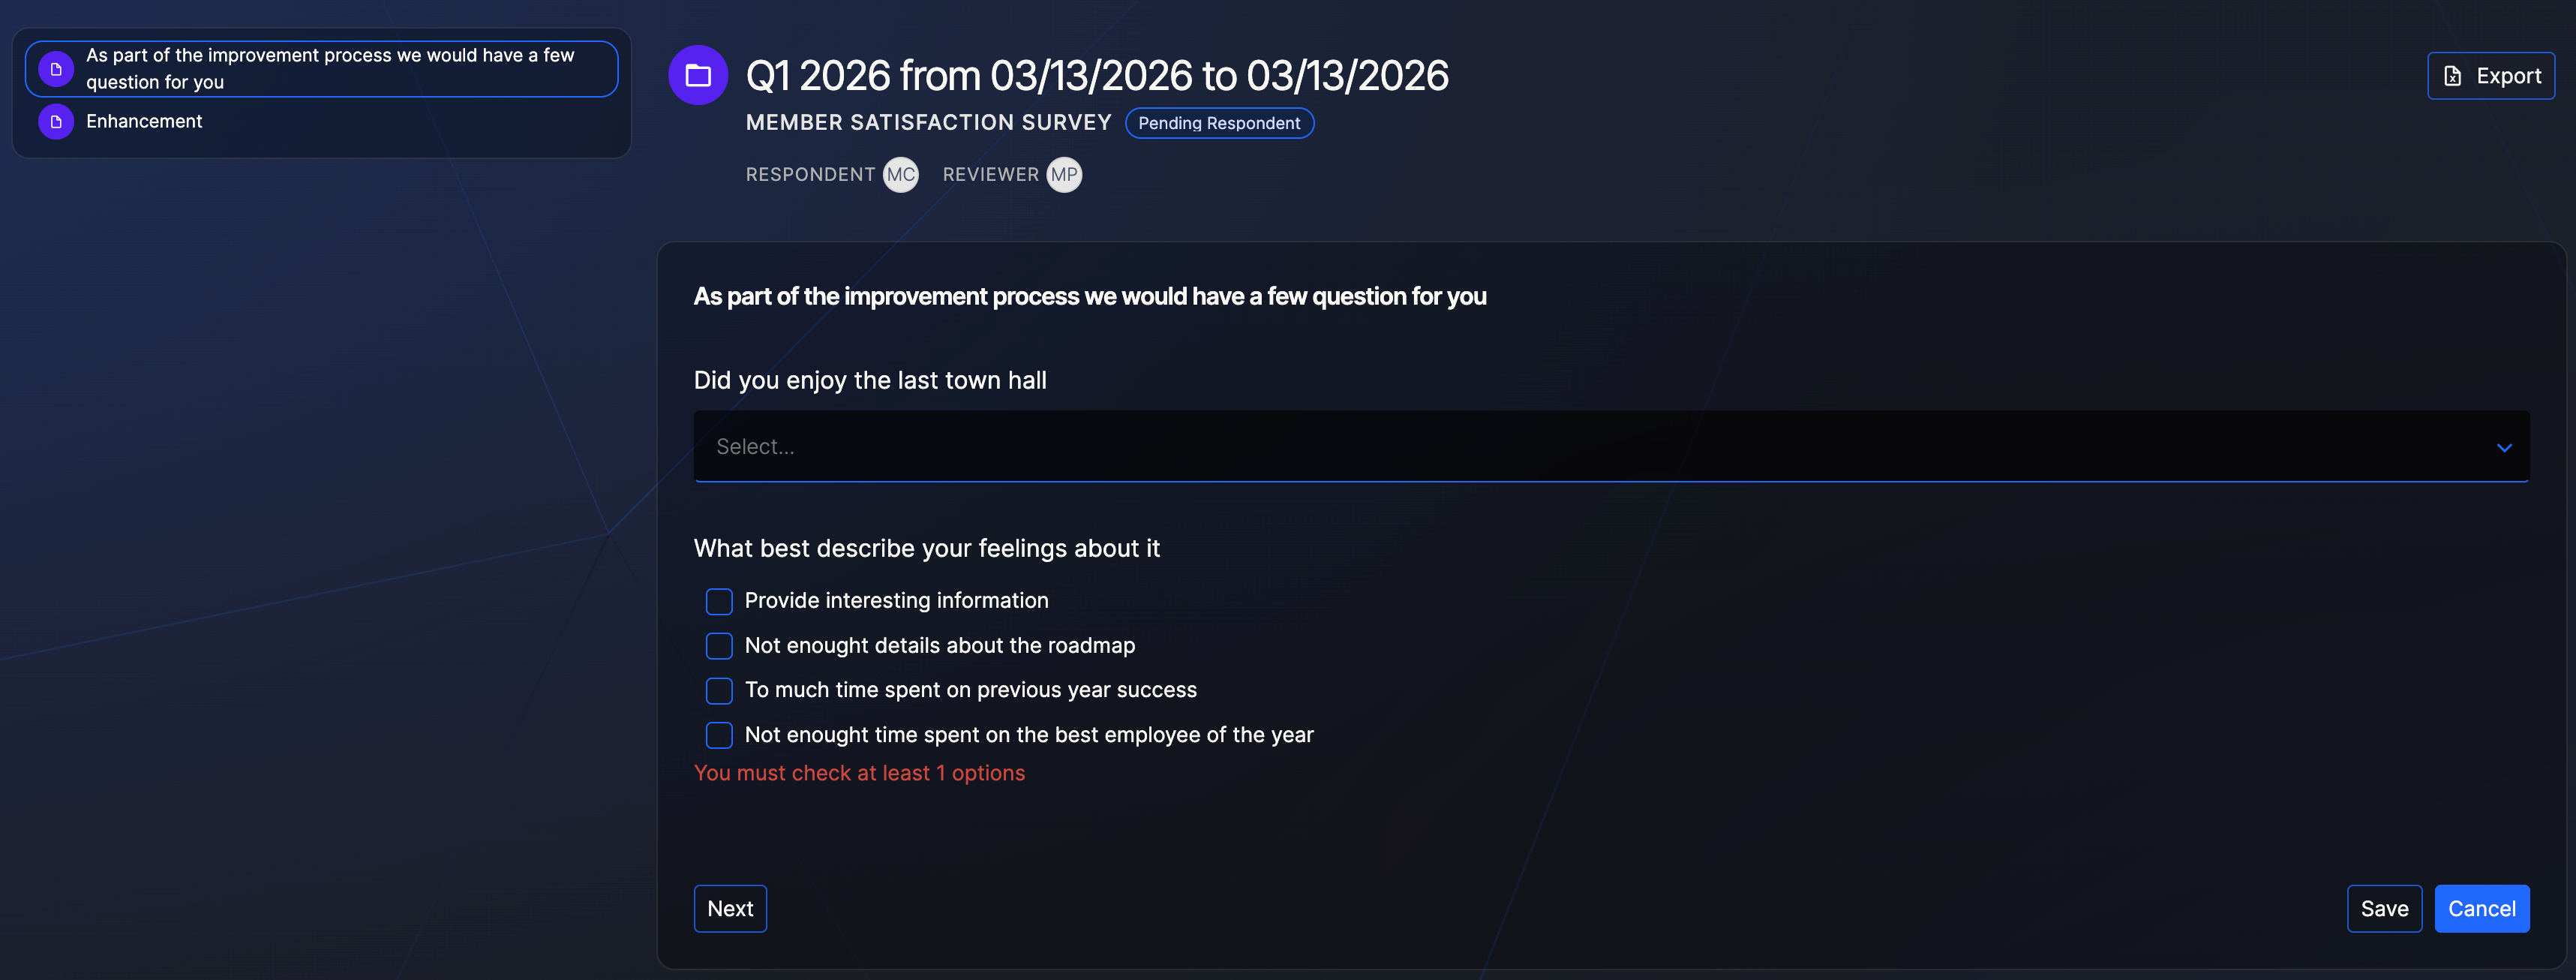
Once invited, respondents access the survey questionnaire through a dedicated interface. The screen displays the campaign title and period at the top, with the list of sections on the left for easy navigation and the questions in the center. Respondents fill in each question (dropdowns, multiple choices, text fields, etc.) and use the Next button to move between pages. Once all questions are answered, click Save to submit the response.
Respondent questionnaire view
As an employee
Internal employees receive an invitation email with a link to the survey platform.
- Open the invitation email and click on the link;
- Log in using your organization's SSO (SAML authentication);
- From the platform homepage, click on the survey to open it;
- Answer the questions and click Save when finished.
As an external person
External respondents also receive an invitation email with a link to the survey platform.
- Open the invitation email and click on the link;
- Enter your email address and password to log in;
- Complete a second authentication step (verification code via email or phone);
- From the platform homepage, click on the survey to open it;
- Answer the questions and click Save when finished.
External respondents logging in for the first time should click Forgot password to create their account.
Viewing campaign responses
To analyze the results of a campaign:
- Navigate to the Surveys section from the side menu;
- Click on the parent survey, then open the campaign you want to review;
- Click Results report;
- Select the report format you want to download.
From the campaign detail view, you can also monitor the progress of each respondent and see their completion status (not started, in progress, submitted).